What is HDR anyway?
The HDR or High Dynamic Range technique exists of 2 or more photo’s being taken at different exposure settings, and combining these pictures into one new picture with a correct exposure on all (or as much as possible) spots of the scene. This can be done in post processing, using Adobe Photoshop or other specialized HDR software tools, or as in many modern camera’s, it can be done in-camera. Due to the high processing power of the modern smartphones, most smartphones have a HDR photo setting in their native camera app.
Why You Really Need HDR Photos
The technique was invented in order to overcome the limitations in dynamic range of the sensors of digital camera’s. The dynamic range of a camera sensor is the ability to capture both parts of a scene that are low in light and parts of that same scene that are high in light, compared to the standard average for that scene.
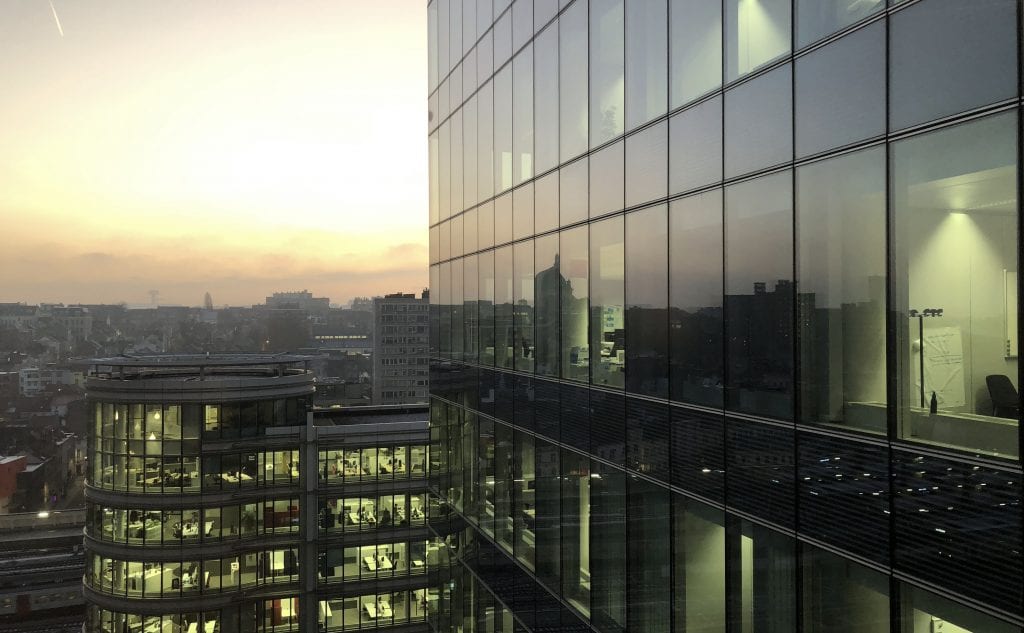
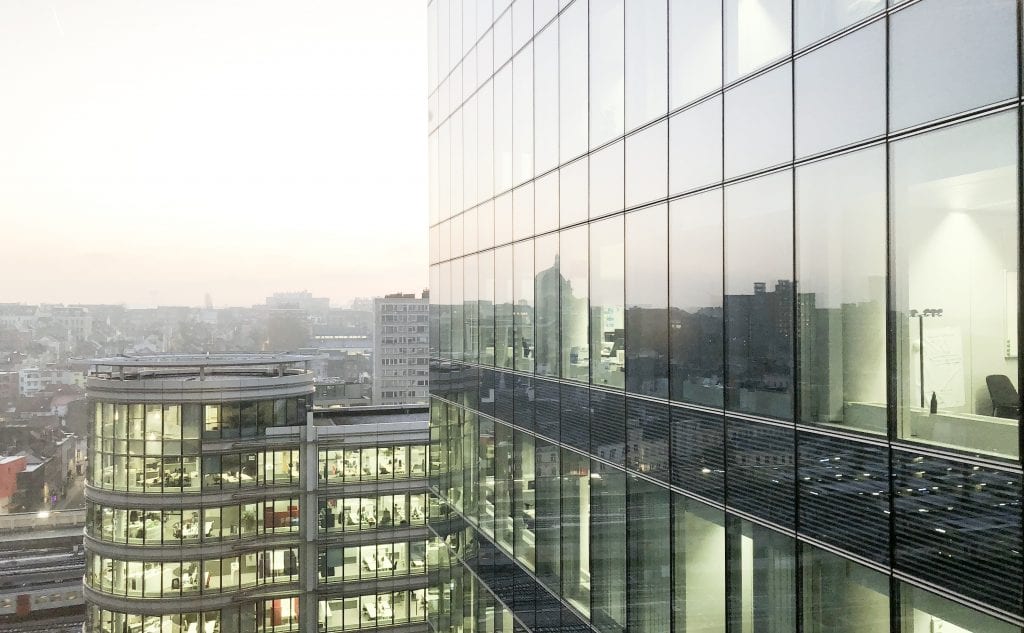
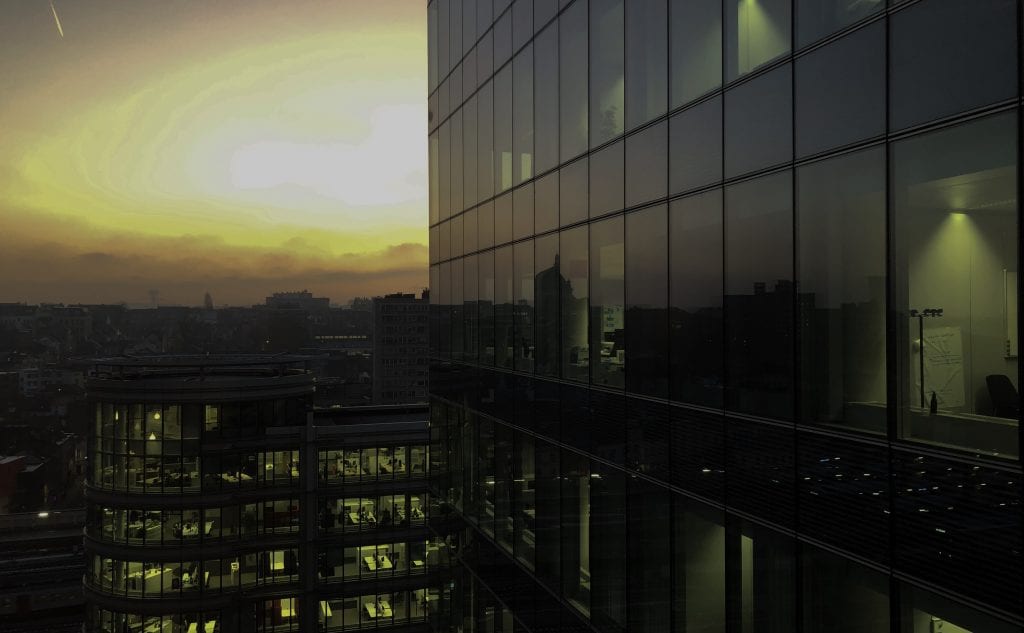
The lightmeter of your camera, be it top of the line DSLR, the best ever mirrorless, or your everyday use iPhone camera, will always measure the light in the scene you are trying to photograph, and calculate the best exposure value for that scene. The way it calculates this, can be in many different ways, but that is beyond the scope of this post. The most important thing to know, is that your camera will expose for the average light of the scene. Meaning, that if you have both the bright sun, and the darker shadowy area of the inside of a half open shed in the scene, the camera will try to expose for the middle road between those two. This will leave your sky blown out, and the inside of the shed dark. But the shed and the grass will be perfectly exposed! Why does this happen? Because the sensor of your camera cannot reach both the correct exposure for the high and the low exposure values in a single shot. You can try to “overexpose” the scene, this will make the dark parts in the shed well exposed, but the grass will be overexposed, and the sky blown out. Or you can “underexpose”, which will make the sky better exposed, but the grass will be underexposed, and the shed will be black.
The solution? Take more shots!
How does the HDR Photo setting on a camera work?
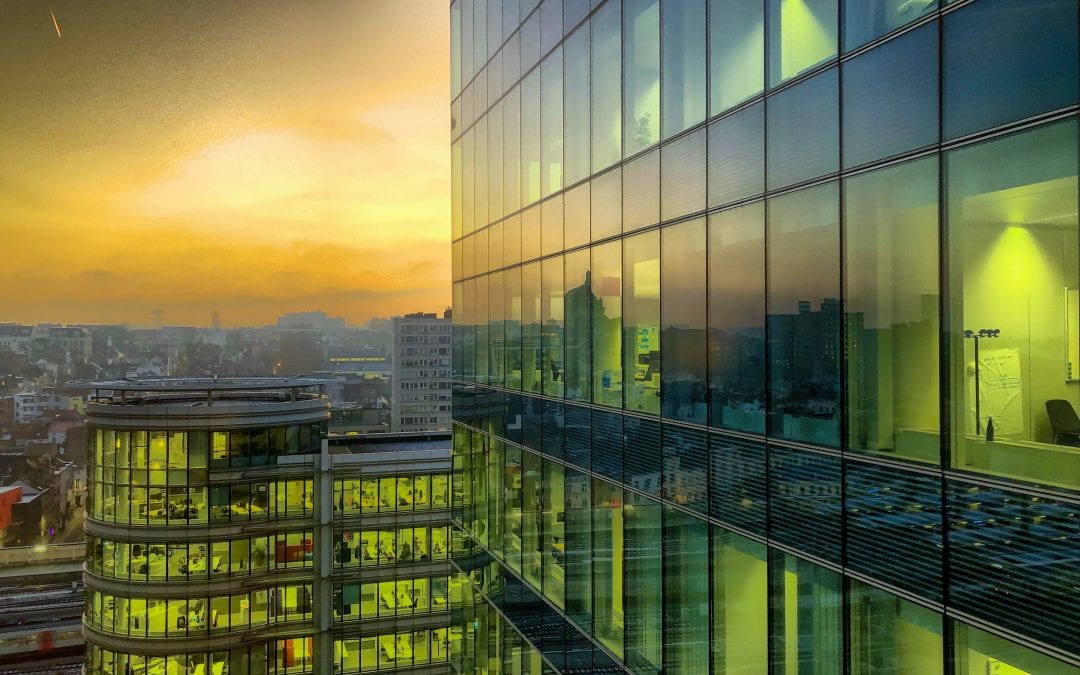
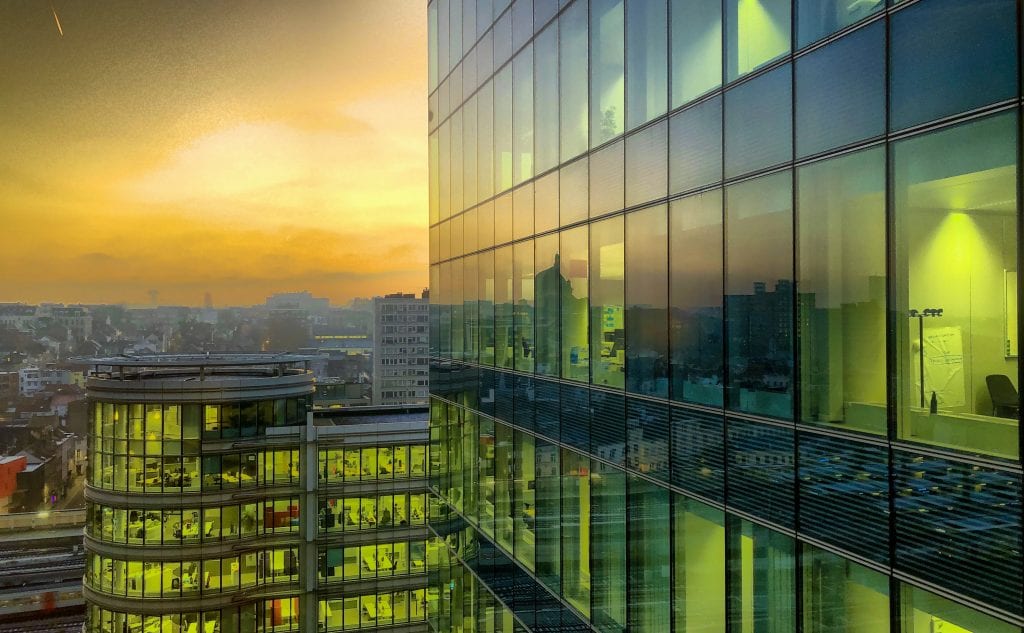
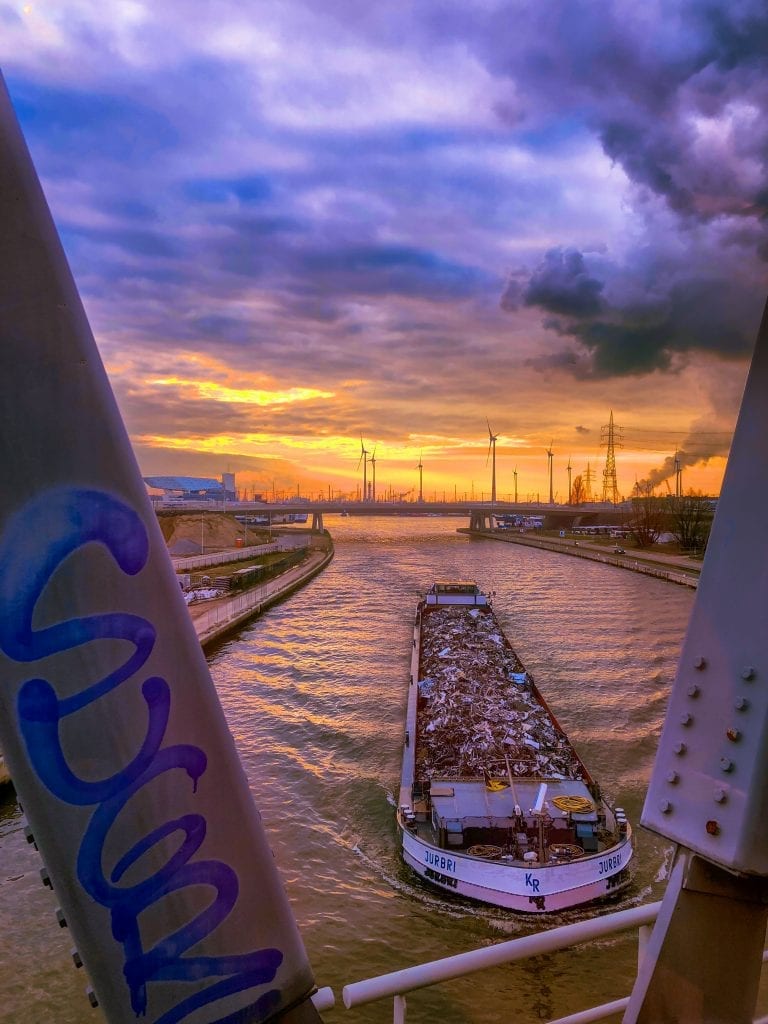
What a camera with HDR photography capability, or a HDR Photo app does, is first take a correctly exposed picture of the scene measured on the lowlights, next it will take a correctly exposed picture of the same scene, but measured on the highlights, and then it will combine those two pictures into one picture, with correct exposure in (almost) all parts of the scene.
Depending on the camera or camera app you use and your settings, the final HDR image can be created from 2, 3 or even up to 5 differently exposed images, if you use an iPhone camera app like Procamera HDR on your smartphone like I do. Of course, if you combine your HDR photo in post processing, you are free to use as many photo’s as you want, and typically more photo’s means a better result.
Most of the time, depending on your settings, the camera or camera apps save the lowlight or standard exposed image, plus the HDR version of the image. This is why especially on smartphones, and with the default settings, you will see two pictures appear in your camera roll.
But, the Chuck Norris Effect?
Well, I owe you, my dear reader, an explanation on the choice of the title…
You have different types of camera sensors. You have really cheap ones, for cheap phones and smartphones, or camera’s of low price drones and so one. You have more expensive sensors, such as for high end smartphones. Then come the great sensors, as in the more expensive DSLR’s and such. But there are also really really expensive sensors, for instance for large format camera’s, for which the sensor costs more than a decent BMW 5 series.
The difference between all these sensors are plenty, not just the MegaPixel count (do not get me started on that one! Ok, another post might come up…), but also the Dynamic Range of the sensor makes a big difference.
The Chuck Norris effect? Well, using the HDR Photography technique, allows you to create a much higher dynamic range than normally possible with your sensor. Meaning you can fight the big muscled guys, on dynamic range at least.
Have you tried HDR Photography yourself? Using your DSLR or other with post-processing? Or did you try it on your smartphone using a specialized HDR Photo app?
Share the result!
And if you have more questions feel free to ask, since this blogpost had originally started from a reader’s question who wanted to know what HDR Photo’s actually are.
If you are interested in trying out some HDR photography, you can use specialized apps on your smartphone, or use Aurora to create real pro HDR images. Aurora is from the same software company as Luminar, and is often combined in a package deal. Check out the affiliate link below!

